アパートの治安が悪いのでドアスコープに防犯カメラを構築した
いろいろあって隣人の愚行を録画するためにドアスコープに防犯カメラを自前構築しました。 いつか追い出したくなった時に管理会社に証拠として提出するために使おうと思います。
要件
- 動体検知で自動録画
- オンラインにバックアップ(マジの泥棒が来ちゃった時用)
- 音も欲しいけど一旦要らない
前提条件など
- Raspberry Piには固定IPが降るようにルータ側に設定が入っている
- Raspberry PiにはRaspbianがインストール済みである
- Raspberry Piにカメラモジュールが接続済みで、raspi-configからカメラが有効化されていること
準備したもの
- Raspberry Pi3 Model B https://www.amazon.co.jp/gp/product/B01CSFZ4JG/
- Raspberry Pi カメラモジュール https://www.amazon.co.jp/gp/product/B00KAAEBWI/
- 広角ドアスコープ(200度)
- USB ACアダプタ(Raspberry Piが動くだけの電源容量があるもの)
- Micro USB Type-Bケーブル(Raspberry Pi給電用)
広角ドアスコープは是非おすすめしたい。カメラをつけなかったとしても是非オススメしたい。マジで真横まで見える。 ただし、自分で取り付ける場合は締めが甘いと外から外されて鍵開け工具突っ込まれたりするので注意してください。
やったこと
物理設置
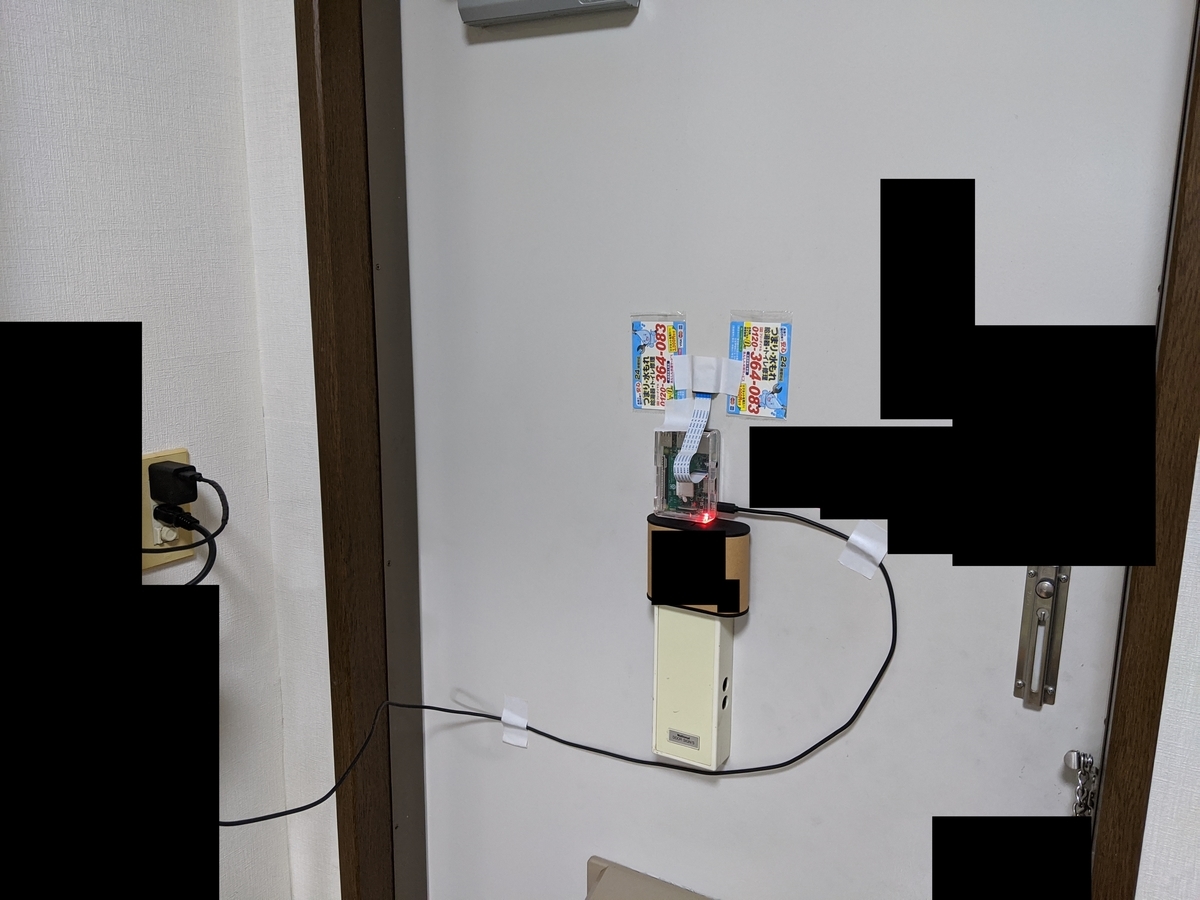
ドアスコープ内にレンズが入るように Raspberry Pi3 と カメラモジュールを設置した。

色々見苦しいがご勘弁を。 水道屋さんのマグネットシートがちょうど溜まっていたので、それを貼付した上から養生することによってカメラの脱着可能を実現した()。
motion周りの設定
最終的な構成は、
motion で動体検知録画 => inotifywait で録画ファイルの差分を検知し rsync でさくらのVPSに同期する
といった感じにした。
まずは必要なツールをインストール。
# apt -y install motion vim
motion の基本的な設定する。
/etc/motion/motion.conf を編集。以下、自分でいじった記憶があるところを抜粋。
# Start in daemon (background) mode and release terminal (default: off)
daemon on

# Image width (pixels). Valid range: Camera dependent, default: 320
# ドアスコープなので適当に幅を絞る
width 1080

# Image height (pixels). Valid range: Camera dependent, default: 240
height 1080

# Threshold for number of changed pixels in an image that
# triggers motion detection (default: 1500)
threshold 3000

# Container/Codec output videos
# Valid values: mpeg4, msmpeg4, swf,flv, ffv1, mov, mp4, mkv, hevc
ffmpeg_video_codec mp4

# Target base directory for pictures and films
# Recommended to use absolute path. (Default: current working directory)
target_dir /tmp/motion

# Restrict stream connections to localhost only (default: on)
stream_localhost off

# Parameters to include on webcontrol.  0=none, 1=limited, 2=advanced, 3=restricted
# Default: 0 (none)
webcontrol_parms 2
/etc/default/motion を編集
# set to 'yes' to enable the motion daemon
start_motion_daemon=yes
motion を起動
# systemctl start motion && systemctl enable motion
ここまで来ると、 ブラウザでRaspberry Pi のIPアドレス:8080 / :8081 に行くと映像を見たり設定を確認できるようになっているはず。
眩しい問題
ドアスコープに突っ込んでいるが故、映像の殆どが黒くなっている。そのため、夜が明け日が昇ると明るさ調整がうまくいかず、映像がホワイトアウト(眩しくて何も見えない)してしまう事象が度々あった。(明るさ自動調整は設定で切っているはずなのに…) 再起動すると即座に改善されることがわかったので、しばらくはCRONジョブにより定期的に再起動することで様子を見ることにした。
# crontab -l
0 */2 * * * systemctl reload motion
バックアップ設定
必要なツールをインストール。
# apt -y install inotify-tools screen
録画データ保管用に、さくらのVPS を1インスタンス用意した。 OSは Ubuntu 18.04 とした。 Raspbian の root のSSH公開鍵を Ubuntu の root の authorized_keys に挿入した。
つづいて、以下のようにRaspbian の rc.local に、自動で rsync するタスクを追記した。
# cat /etc/rc.local
...(省略)...

 sudo -u motion mkdir /tmp/motion/ ; /usr/bin/screen -dmS screen /bin/bash -c "inotifywait -m /tmp/motion/ | xargs -I{} rsync -r /tmp/motion/ ${VPSのアドレス}:/tmp/motion/"

exit 0
まとめたほうが分かりやすいと思ったのでCRONに追記した。
結果下記の設定になった。
NOTE: 再起動後は /tmp がまっ更になっているので mkdir しておかないとディレクトリ監視が不正終了してしまう。
# crontab -l
0 */2 * * * systemctl reload motion
@reboot  sudo -u motion mkdir /tmp/motion/ ; /usr/bin/screen -dmS screen /bin/bash -c "inotifywait -m /tmp/motion/ | xargs -I{} rsync -r /tmp/motion/ mcsv.tokyo:/tmp/motion/" &> /tmp/rc.local.log
続いてVPS側の設定。
#  apt -y install apache2-utils nginx-extras # fancyindex を使いたいので nginx-extras を入れる
# htpasswd -c /etc/nginx/.htpasswd username
htpasswd 周りの参考文献 : qiita.com
カメラ録画映像を一覧表示できる様に、以下のように設定ファイルを作成した。
# cat /etc/nginx/conf.d/motion.conf
server {
    listen       80;
    server_name  ${ドメイン名};

    location /motion {
        # autoindex on;
        # autoindex_exact_size on;
        # autoindex_localtime on;
        fancyindex on;                     # Enable fancy indexes.
        fancyindex_exact_size off;  # Output human-readable file sizes.
        alias /tmp/motion;
        auth_basic "Restricted";
        auth_basic_user_file /etc/nginx/.htpasswd;
    }
}
設定読み込み。
# systemctl reload nginx.service
完成!
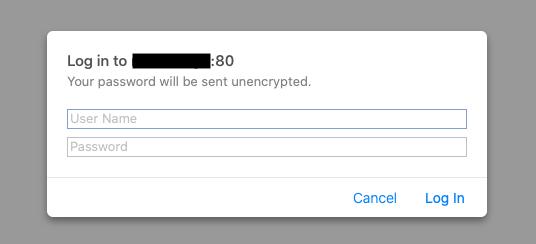
VPSのアドレス/motion/ にアクセスしてみると先ほど設定した認証情報を求められる。

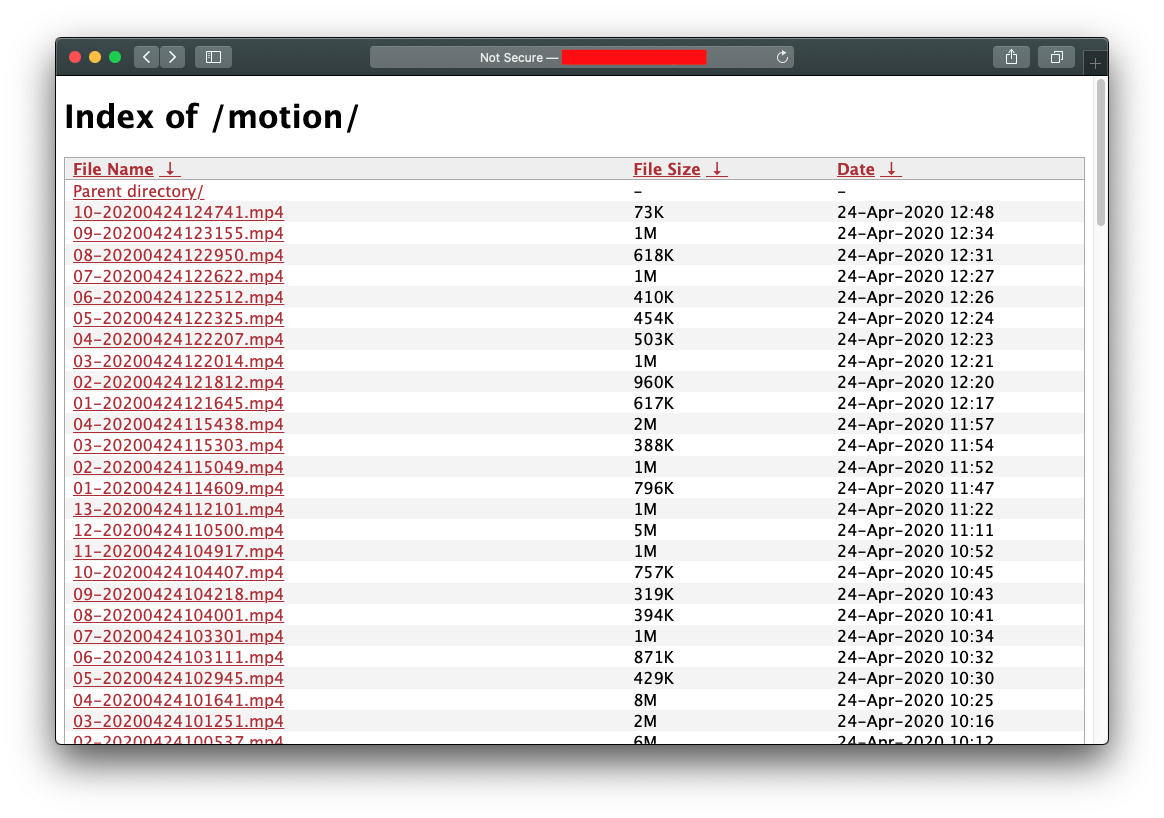
認証情報を入力して進むと、録画一覧が表示される。

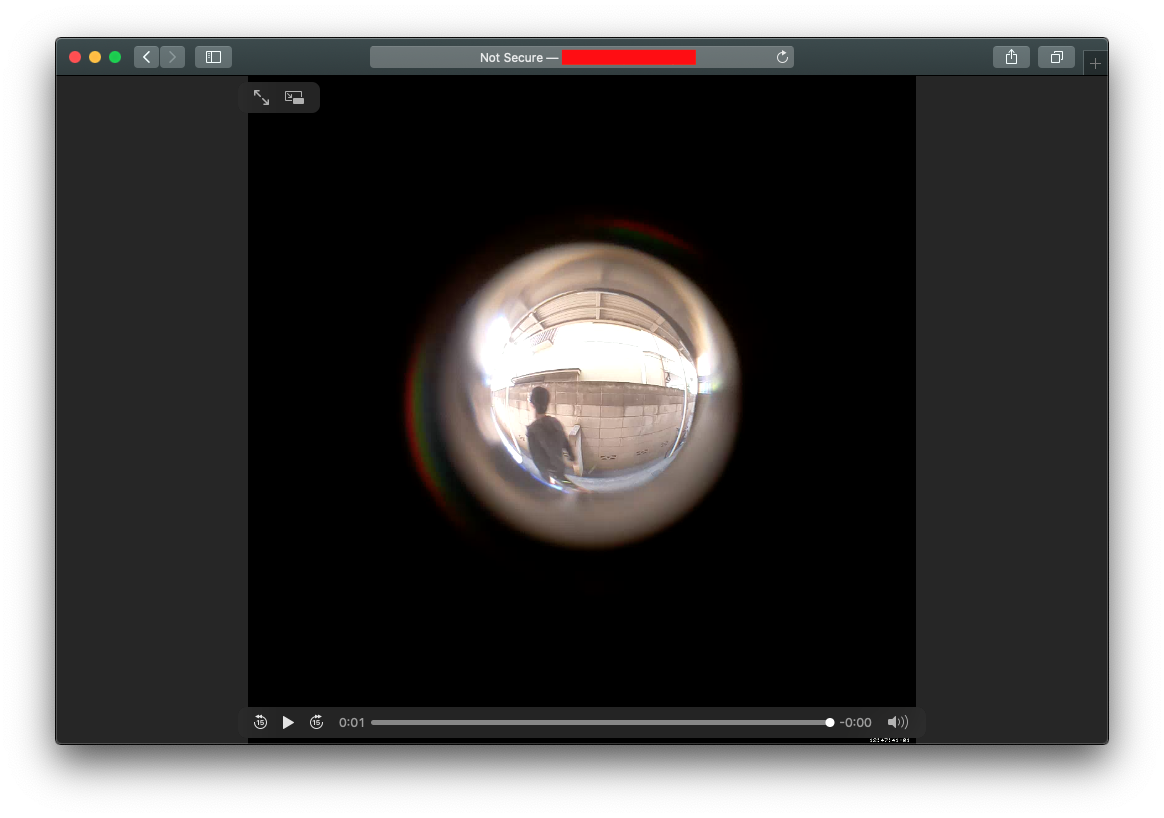
任意のファイルを選択すると、ブラウザ上で再生できる。
